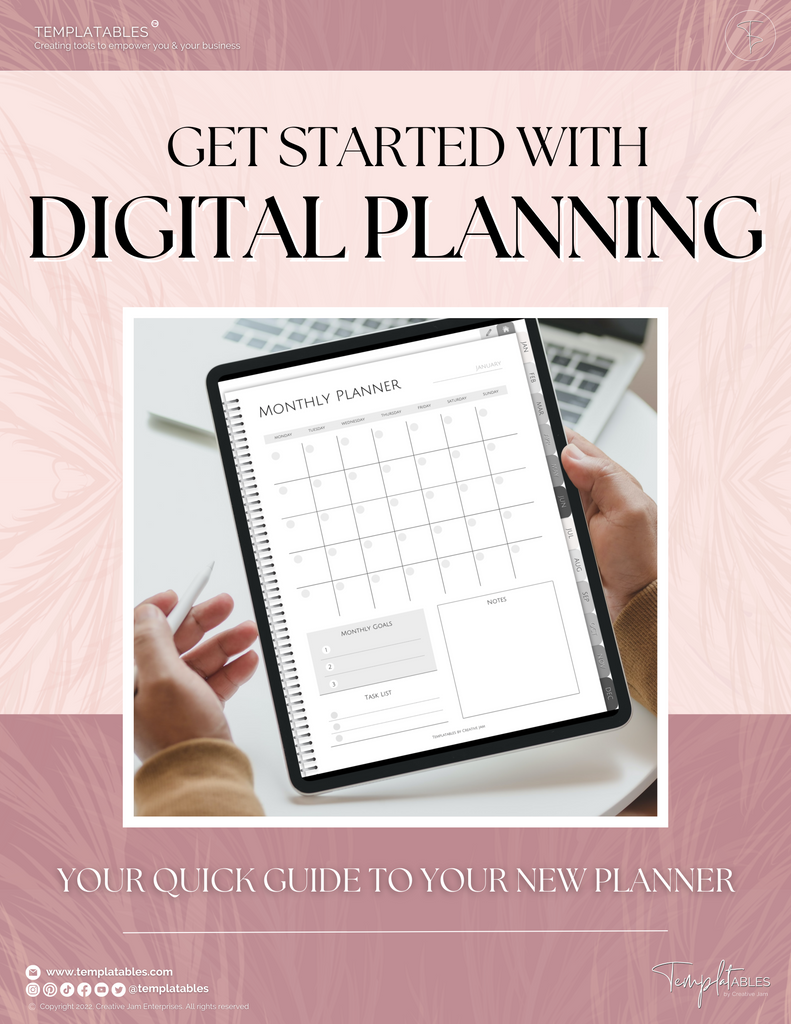
Getting started with digital planning
A beginner's quick guide to getting started with digital planning.
Get set-up and start planning your days with intention in just a few minutes
Get started with our FREE DIGITAL PLANNER here
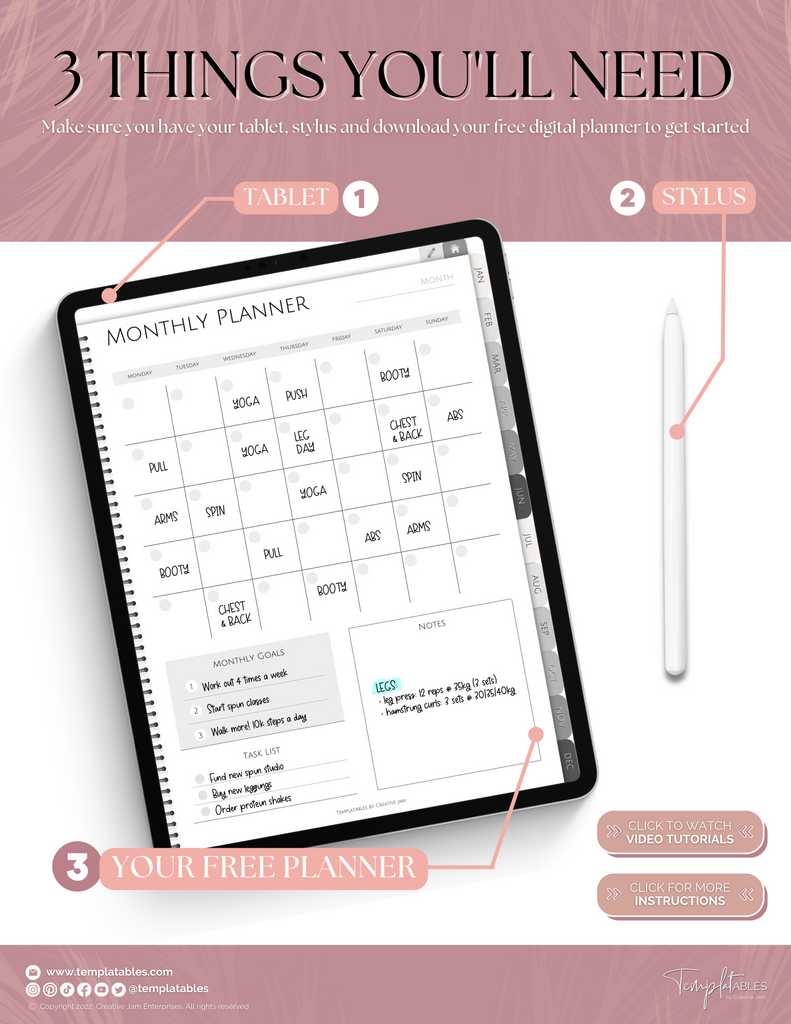
3 THINGS YOU'LL NEED TO GET STARTED
Make sure you have your tablet, stylus and download your free digital planner to get started
DOWNLOADING & OPENING YOUR DIGITAL PLANNER
You will need a pdf annotation or note-taking app to use this planner. We recommend using the following applications
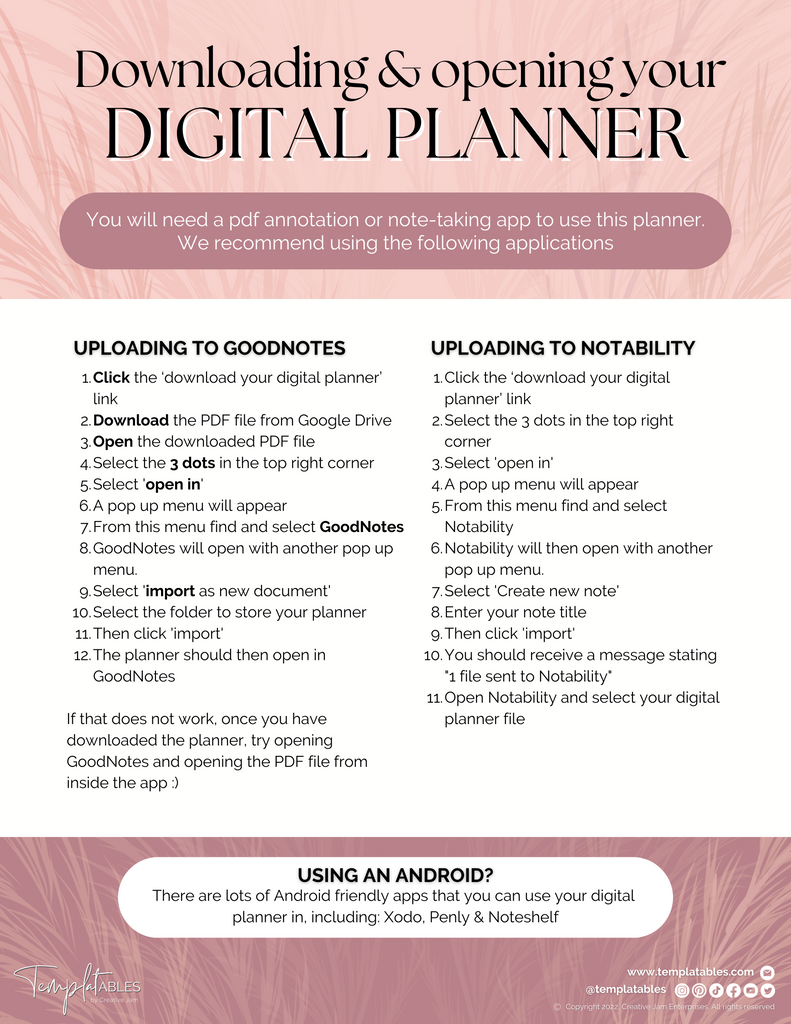
UPLOADING TO GOODNOTES
- Click the ‘download your digital planner’ link
- Download the PDF file from Google Drive
- Open the downloaded PDF file
- Select the 3 dots in the top right corner
- Select 'open in'
- A pop up menu will appear
- From this menu find and select GoodNotes
- GoodNotes will open with another pop up menu.
- Select 'import as new document'
- Select the folder to store your planner
- Then click 'import'
- The planner should then open in GoodNotes
If that does not work, once you have downloaded the planner, try opening GoodNotes and opening the PDF file from inside the app :)
UPLOADING TO NOTABILITY
- Click the ‘download your digital planner’ link
- Select the 3 dots in the top right corner
- Select 'open in'
- A pop up menu will appear
- From this menu find and select Notability
- Notability will then open with another pop up menu.
- Select 'Create new note'
- Enter your note title
- Then click 'import'
- You should receive a message stating "1 file sent to Notability"
- Open Notability and select your digital planner file
USING AN ANDROID?
There are lots of Android friendly apps that you can use your digital planner in, including: Xodo, Penly & Noteshelf
USING HYPERLINKS & EDITING
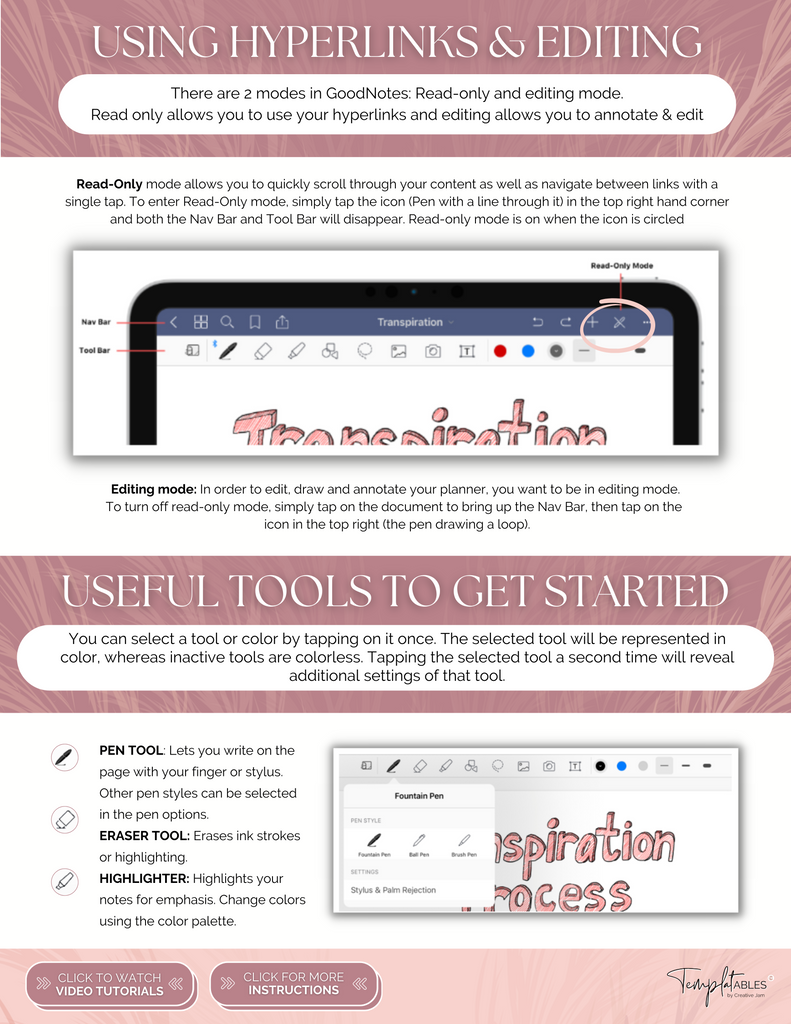
There are 2 modes in GoodNotes: Read-only and editing mode. Read only allows you to use your hyperlinks and editing allows you to annotate & edit
Read-Only mode allows you to quickly scroll through your content as well as navigate between links with a single tap. To enter Read-Only mode, simply tap the icon (Pen with a line through it) in the top right hand corner and both the Nav Bar and Tool Bar will disappear. Read-only mode is on when the icon is circled
Editing mode: In order to edit, draw and annotate your planner, you want to be in editing mode. To turn off read-only mode, simply tap on the document to bring up the Nav Bar, then tap on the icon in the top right (the pen drawing a loop).
USEFUL TOOLS TO GET STARTED
You can select a tool or color by tapping on it once. The selected tool will be represented in color, whereas inactive tools are colorless. Tapping the selected tool a second time will reveal additional settings of that tool.
Pen tool: Lets you write on the page with your finger or stylus. Other pen styles can be selected in the pen options.
Eraser Tool: Erases ink strokes or highlighting.
Highlighter: Highlights your notes for emphasis. Change colors using the color palette.
NAVIGATING YOUR FREE PLANNER
Get started with our free digital planner here
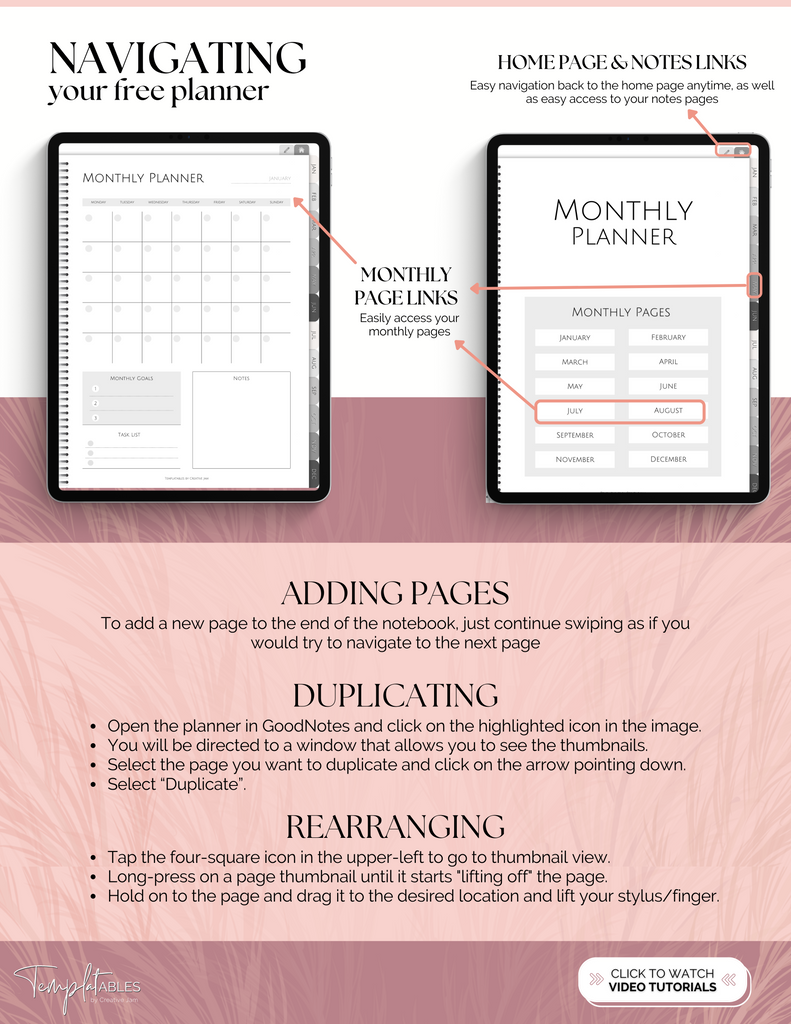
Adding pages: To add a new page to the end of the notebook, just continue swiping as if you would try to navigate to the next page
Duplicating pages:
- Open the planner in GoodNotes and click on the highlighted icon in the image.
- You will be directed to a window that allows you to see the thumbnails.
- Select the page you want to duplicate and click on the arrow pointing down.
- Select “Duplicate”
Rearranging pages
- Tap the four-square icon in the upper-left to go to thumbnail view.
- Long-press on a page thumbnail until it starts "lifting off" the page.
- Hold on to the page and drag it to the desired location and lift your stylus/finger
DISCOVER MORE DIGITAL PLANNING TOOLS
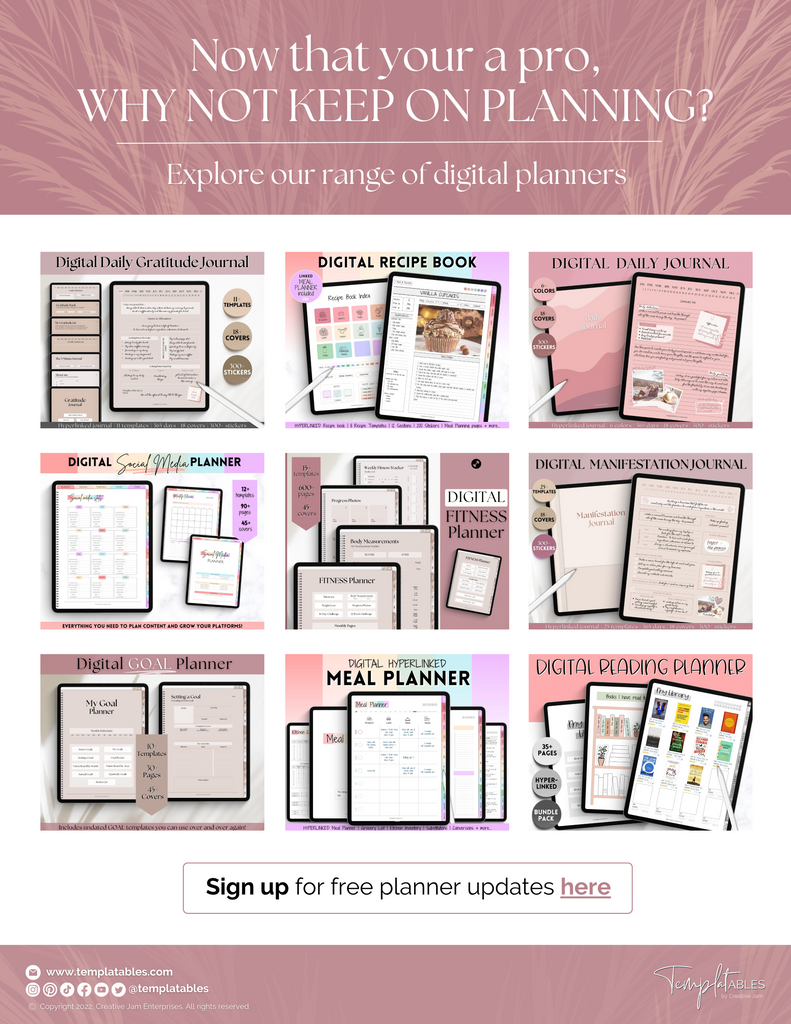
Now that your a pro, why not keep on planning?
Explore our range of digital planners here - or feel free to reach out to us if you have any questions at all!
